This short tutorial will show you how to create slices in Illustrator by using the shape of the object as the area of the slice.
In Illustrator create new web document with dimentions 800px / 600px and give it a name of layout (Fig. 01)
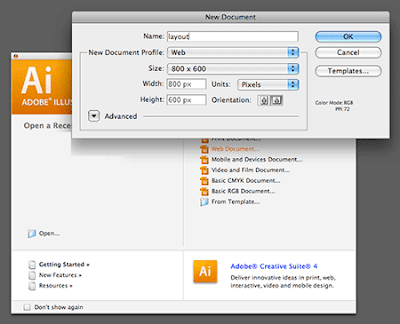
Fig. 01
Fill your new document with some shapes of the different colours without the stroke as in Fig. 02

Fig. 02
Select one of the shapes and go to Object > Slice and select Make option (Fig. 03).
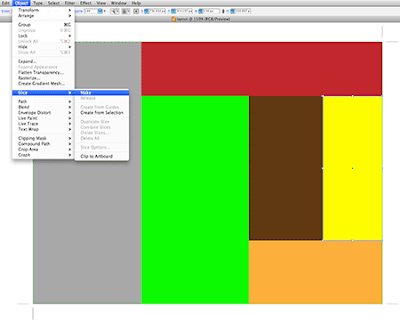
Fig. 03
This will create a slice around the edges of the shape (Fig. 04).
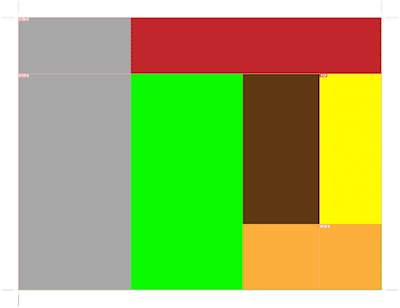
Fig. 04
If you click and drag any of the edges of the shape, the slice will follow as it´s snapped to the shape (Fig. 05).
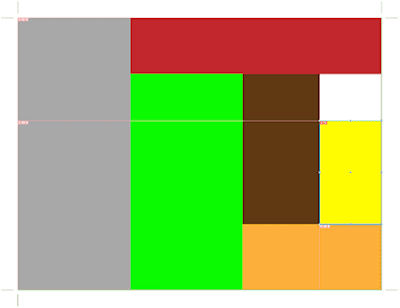
Fig. 05
On your keyboard click cmd + Z (Mac) or Ctrl + Z (Windows) once to revert changes to the shape of our object and with the object still selected go to Object > Slice and select Release to remove all slices (Fig. 06).
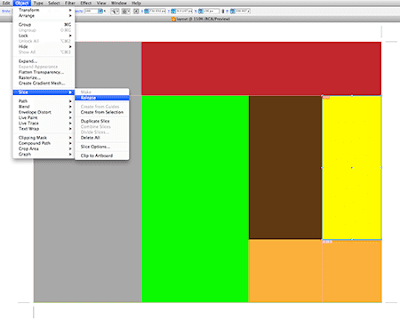
Fig. 06
Now, to apply slices to all objects automatically, simply press on your keyboard cmd + A (Mac) or Ctrl + A (Windows) to select all objects and from the menu choose Object > Slice and select Make (Fig. 07).
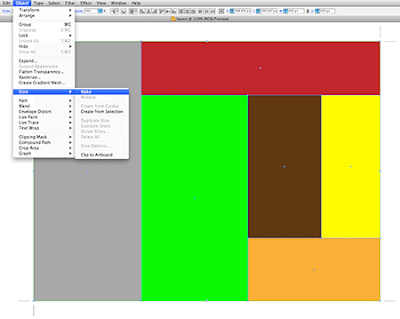
Fig. 07
This will create slices around the edges of all objects withing the document (Fig. 08).
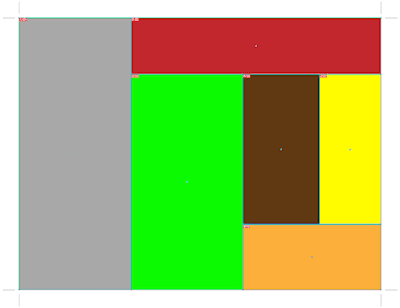
Fig. 08
Created by Web Design Tutorials by Sebastian Sulinski.


